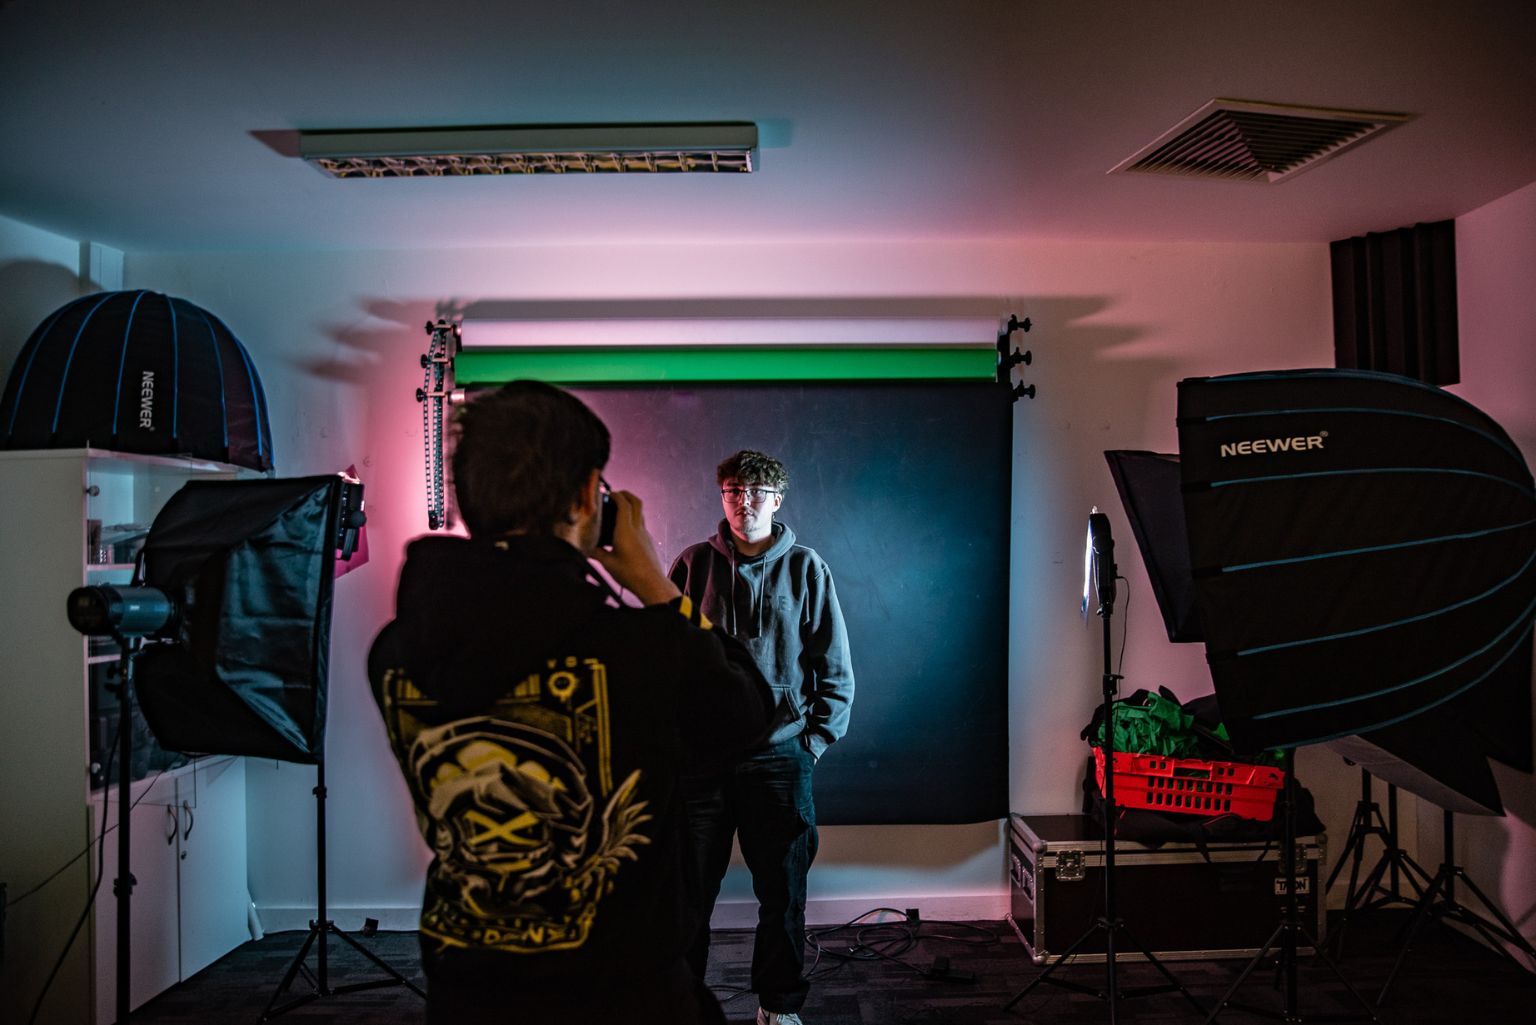


Prototyping in video games is the process of sampling out level layout and mechanics in game before making them into final design elements, so you can eliminate issues.
Prototyping in Unity
Prototyping is an essential step in the game development process. Unity is great for game development and is one of the best game engines for prototyping. This is because Unity offers a variety of tools and features that make it easy to quickly create, test, and iterate on game ideas.

One of the biggest benefits of prototyping in Unity is that it allows developers to quickly test out different gameplay mechanics and level design structure. This can be done by creating simple, placeholder assets and scripting to see how the mechanics work in practice. This allows developers to quickly identify any issues or problems with the mechanics and make changes as needed.

A further advantage of using Unity to create prototypes is that we can test out different art styles and visual effects in the game. This can be done by creating in-game objects such as rocks and trees, then using Unity’s built-in shaders and post-processing effects (particle engines and lighting rendering) to test out different looks and feels for your level designs. This technique helps to create an atmosphere in-game.

Unity also has a wide range of tools and features that make it easy to prototype different types of games. For example, Unity’s physics engine makes it easy to prototype physics-based games, while Unity’s built-in scripting tools make it easy to prototype narrative-driven games. Additionally, Unity’s built-in support for VR and AR makes it easy to prototype games for these platforms.

How to make a prototype in Unity
There are many ways to make a Prototype. The 6 stages below are the processes I use myself:
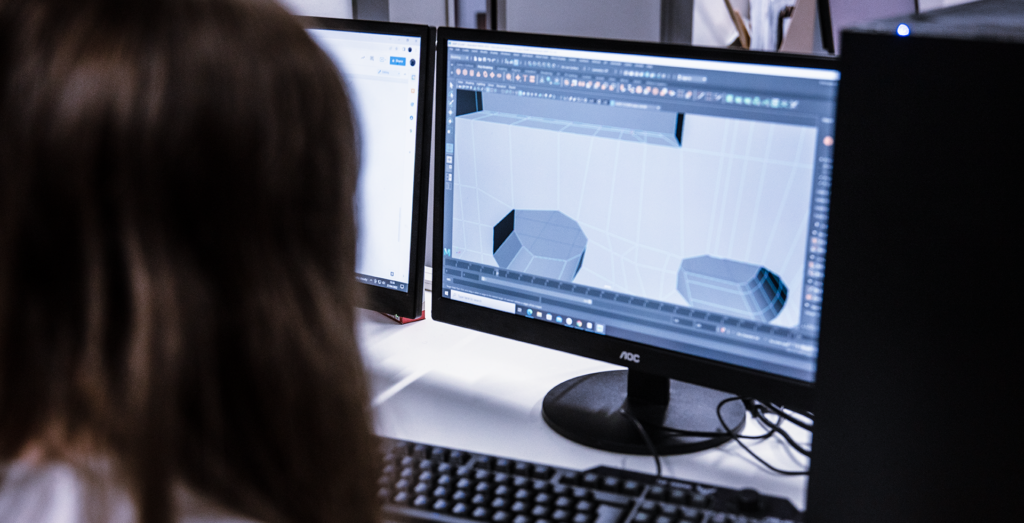
- Placeholder Assets: Create a series of placeholder assets (walls, floor, ceiling, player etc.). Once these have been created, you can then make a ‘sandbox’, a basic level layout.
- Identify Mechanics: At this stage you should make a list of what controls and mechanics need to be in your game. You can do this by asking certain questions (Can my player jump? How should my enemies interact? etc).
- Apply Mechanics: There are many ways to construct your mechanics. You can use visual scripting methods or scripting (I personally use C# Language). These can then be tested out in the engine to make sure they function correctly.
- Test Gameplay: Once you have applied all your mechanics you should then make sure your game plays effectively, and that you don’t have bugs or issues such as characters getting stuck in the floor, invincible enemies etc. Once you’ve checked that things are working as they should, make a list of anything that needs to be improved. This stage is also known as Quality Assurance.
- Tweak: Once you have an action plan for what you need to do, it is now time to make improvements or tweaks to the prototype, for example resizing the player so they don’t get stuck or making sure enemies have health etc.
- Rinse, Repeat until Happy: When you have made the tweaks, keep checking until you are satisfied with the results.
Overall, prototyping in Unity is an essential step in the game development process. It allows developers to quickly test out different gameplay mechanics and art styles, identify any issues or problems, and make changes as needed. This ultimately leads to a more polished final product.
If you’re interested in learning how to develop games, see our Games Development courses here
If you want to know more about prototyping, you can find the author of this post, Duncan McHardy, over on LinkedIn or his website.